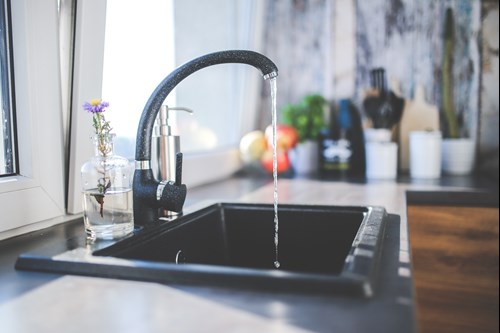
A dripping faucet is one of the most common problems in kitchens and bathrooms across the US. The good news is that this issue that can usually be resolved by homeowners themselves. Even if your home improvement knowledge is nil, with a little help from Go Assist, you’ll be able to put an end to that annoying drip... drip... drip.

How to fix a dripping faucet in a few simple steps
Step 1: Turn off the water at the mains
The last thing you want to do is turn a drip into a deluge, so ensure the faucet handles are turned off and switch off the water supply under the sink. To do that, look for the pipes that run-up to the sink. Along the pipes somewhere you’ll find a knob that you should turn clockwise to shut off the water supply.
Step 2: Plug the sink
Although it’s not a part of the fix, taking a second to put the plug in the sink will help you avoid the horror of watching a vital screw or washer slip down the drain.
Step 3: Remove the faucet handles
The next quick job is to remove any ornamental parts from the handle, such as caps reading ‘hot’ or ‘cold’. They can usually be unscrewed with your hands. If the caps are stuck, use a flat head screwdriver. Under each handle, you’ll find a screw that attaches to the faucet handle. Use the flat-head to loosen the faucet handle and remove it from the stem.
Step 4: Remove the stem
Once the handle is removed, you’ll see the stem, which will be sat on top of an O-ring and a seat washer. Use your wrench to loosen and remove the packing nut, which sits right below the faucet handle and creates a watertight seal around the stem. Depending on the faucet, the stem will either pop right off or can be twisted away from the valve. You should check these parts for damage and replace them if necessary. If everything is intact, move onto step 5.
Step 5: Check the washer and the O-ring
Next, take a look in the valve seat and inspect the O-ring and washer inside. A worn washer, which is made of rubber, is most likely to be the culprit when you have a drip. Remove the old washer and put the replacement inside the valve seat. When replacing the washer and O-ring, make sure you have an exact fit. It’s a good idea to take both the O-ring and washer to the hardware store so you can find a match.
Step 6: Reassemble
Now that’s all done, you can reassemble the faucet in the correct order. First, the washer followed by the O-ring, then the stem and packing nut, finishing up with the screw and handle. Now, for the moment of truth. Turn the handle and see if all of your hard work has been worth it. If the faucet is still dripping, you could have loose parts, corrosion in your valve seat, or worse still, a plumbing problem, in which case you’ll need to call the experts.
Appliance repair near you
We might not be able to help with dripping faucets but the expert team at Go Assist can keep your domestic appliances in the best possible shape. Just get in touch to book your appliance repair today.